

© Original Recipe By Magic Spoon Recipes ©
🥢✨ Crispy Japanese Katsu Bowls with Homemade Tonkatsu Sauce: The Ultimate Crispy Chicken Bowl Experience 🍚🧡
1. Introduction
If you’re craving a dish that offers a perfect balance of crispy texture, savory flavors, and a touch of umami, then look no further than katsu bowl. This delightful Japanese-inspired meal combines tender breaded chicken (or pork) with fluffy rice and a rich, homemade tonkatsu sauce. Whether you’re a seasoned home cook or a beginner, making a crispy Japanese katsu at home sounds intimidating, but it’s easier than you think. The irresistible crunch, aromatic coating, and flavorful sauce will elevate your dinner game and make every bite a memorable experience.
2. Why You’ll Love This Recipe
- Ready in 30 minutes: Quick enough for weeknight dinners but special enough for weekend treats.
- One-pan meal: Minimal cleanup with a straightforward cooking process.
- Customizable: Use chicken, pork, or even plant-based proteins for variety.
- Flavorful homemade sauce: Skip the store-bought and enjoy fresh, rich tonkatsu sauce for an authentic taste.
3. Ingredient Notes
To craft the perfect katsu bowl, choosing high-quality ingredients is essential. Opt for skinless, boneless chicken breasts or thighs—thighs offer more juiciness, while breasts provide a leaner option. Use panko breadcrumbs—they’re lighter and crispier than traditional breadcrumbs, ensuring a crunchy exterior. For the sauce, a good combination of ketchup, Worcestershire sauce, soy sauce, and a touch of honey creates that signature tangy-sweet flavor that complements the crispy chicken beautifully. Don’t skip the rice—preferably jasmine or sushi rice for aromatic softness; wash it thoroughly to remove excess starch for fluffier results.
4. Kitchen Tools You Need
- Compact 6-in-1 Digital Air Fryer: Perfect for achieving that crispy coating with less oil, and versatile for other cooking tasks.
- T-fal 14-Piece Hard Anodized Nonstick Cookware Set: Essential for frying and sautéing without sticking.
- Ninja Foodi Smart XL Indoor Grill & Air Fryer Combo: An all-in-one appliance that can help make this dish effortlessly crispy and flavorful.
5. How to Make Crispy Japanese Katsu Bowls with Homemade Tonkatsu Sauce
Preparation Phase
Start by preparing your chicken. Pat the chicken dry, then season with salt and pepper. Set up a breading station with three shallow dishes—one with flour, another with beaten eggs, and the third with panko breadcrumbs. Dip each piece first in flour, then egg, and finally coat thoroughly in panko, pressing lightly to adhere. The visual cue here is a well-coated, golden surface ready for frying or air frying.
Cooking the Katsu
To achieve that signature crispiness, preheat your air fryer or oil (about 350°F if deep-frying). If air frying, spray the coated chicken with a light layer of cooking spray for extra crunch. Cook until golden brown and cooked through—about 10–12 minutes, flipping halfway. The scent of toasted panko and the sight of a crispy, golden exterior will signal perfection.
Making the Rice
Meanwhile, cook your rice according to package instructions. Fluffy, slightly sticky rice is ideal to soak up the delicious sauce and serve as a bed for the crispy katsu.
Preparing the Tonkatsu Sauce
For a rich, flavorful sauce, whisk together ketchup, Worcestershire sauce, soy sauce, a splash of mirin (or rice vinegar), and a hint of honey. Adjust to taste—think of a balance between tangy, sweet, and savory flavors. Simmer for a few minutes until well combined and aromatic.
Assembly
Place the cooked rice into bowls, top with sliced crispy chicken, and drizzle generously with homemade tonkatsu sauce. Garnish with shredded cabbage, green onions, or sesame seeds for an authentic touch. The crunchy chicken paired with the aromatic rice and tangy sauce makes each bite irresistible.
6. Expert Tips for Success
- Double coat for extra crunch: Repeat the breading process for a thicker coating.
- Use a meat thermometer: Ensure chicken reaches internal temperature of 165°F to guarantee all food safety measures are met.
- Adjust breading thickness: A lighter coating is crispier, but a thicker layer provides more flavor—find what suits your taste.
- Rest the cooked chicken: Let it sit for a few minutes after air frying to help juices redistribute and maintain tenderness.
7. Variations & Substitutions
If poultry isn’t your thing, substitute with pork cutlets for a traditional Japanese katsu. Vegetarians can use tofu or eggplant slices, breaded and baked or air fried, with vegan tonkatsu sauce. For gluten-free options, substitute panko with gluten-free breadcrumb mixes or crushed rice crackers.
8. Storage & Reheating
Store leftovers in an airtight container in the refrigerator for up to 2 days. Reheat in an air fryer at 350°F for 3–5 minutes for a crispy texture. Avoid microwave reheating, as it can make the coating soggy.
9. FAQ
Can I make this dish ahead of time?
Yes, prepare the crispy chicken in advance. Keep it refrigerated and reheat in the air fryer for best results. Assemble with fresh rice and sauce when ready to serve.
Is homemade tonkatsu sauce spicy?
No, traditional tonkatsu sauce is tangy and sweet, not spicy. However, you can add a touch of hot sauce if you prefer some heat.
What’s the best rice to use?
Jasmine or sushi rice work best for their aromatic qualities and perfect sticky texture to absorb the sauce beautifully.
10. Conclusion
With these simple steps and tips, you can master the art of making crispy Japanese katsu bowls at home. The combination of crunchy, tender meat and homemade tonkatsu sauce promises a satisfying, restaurant-quality meal. Explore different variations, and don’t forget to enjoy every crispy, flavorful bite!
Print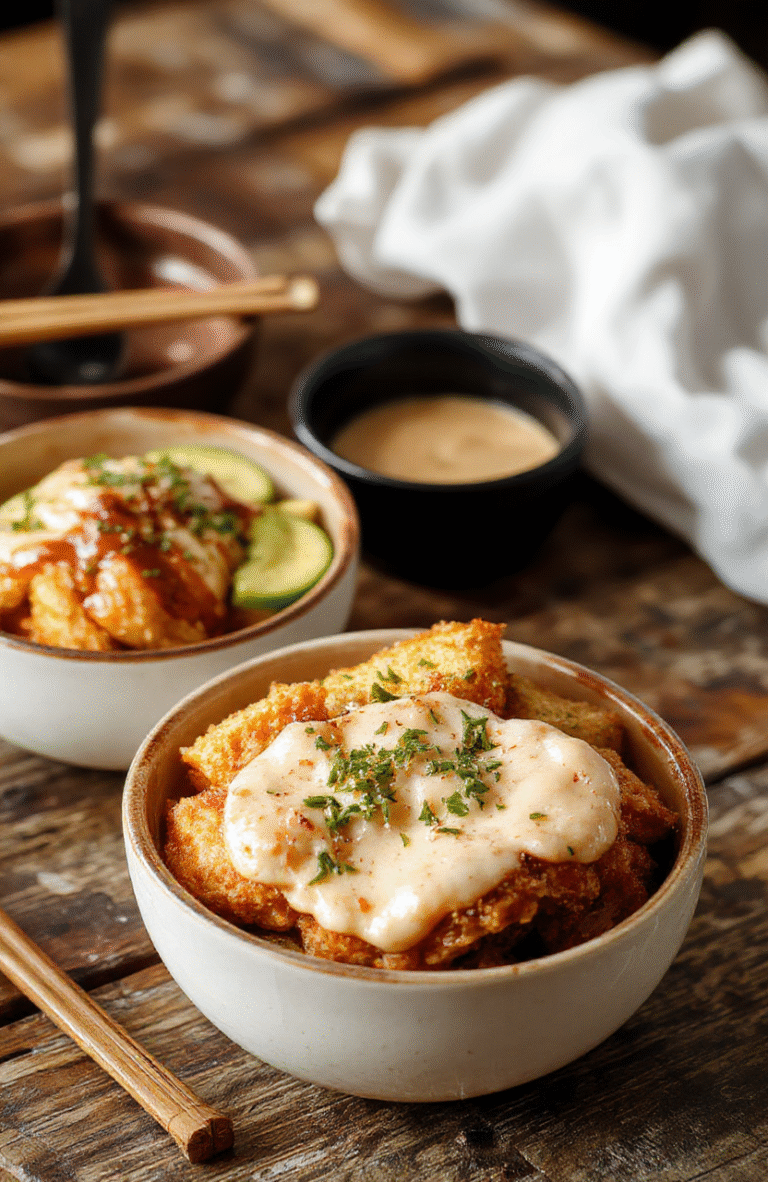
Crispy Japanese Katsu Bowls with Homemade Tonkatsu Sauce
A delicious Asian-inspired dish featuring crispy breaded chicken or pork served over rice with flavorful tonkatsu sauce.
- Total Time: 30 minutes
- Yield: 4 servings
Ingredients
- 2 boneless chicken breasts or pork cutlets
- 1 cup panko bread crumbs
- 2 eggs
- 1 cup all-purpose flour
- Salt and pepper to taste
- Vegetable oil for frying
- Cooked jasmine rice or sushi rice
- Shredded cabbage or carrots for garnish
- Sesame seeds and chopped green onions for topping
Instructions
- Slice chicken breasts or pork cutlets into strips. Season with salt and pepper.
- Set up breading stations: one with flour, one with beaten eggs, and one with panko crumbs.
- Dredge meat in flour, dip in eggs, then coat with panko breadcrumbs.
- Heat vegetable oil in a skillet over medium-high heat. Fry breaded meat until golden and cooked through, about 3-4 minutes per side.
- Drain excess oil on paper towels. Slice if desired.
- To serve, place rice in bowls, top with sliced katsu, shredded vegetables, and drizzle with homemade tonkatsu sauce. Garnish with sesame seeds and green onions.
Notes
- Adjust cooking time based on thickness of the meat slices.
- Homemade tonkatsu sauce can be stored in the fridge for up to a week.
- Prep Time: 15 minutes
- Cook Time: 15 minutes
- Method: Frying
- Cuisine: Japanese
- Diet: Nut-Free
Nutrition
- Serving Size: 1 bowl
- Calories: 520 Kcal
- Sugar: 6g
- Sodium: 720mg
- Fat: 20g
- Saturated Fat: 4g
- Unsaturated Fat: 14g
- Trans Fat: 0g
- Carbohydrates: 65g
- Fiber: 3g
- Protein: 28g
- Cholesterol: 85mg