
© Original recipe by The Daily Dishboard ©
🍗🧀 Cheesy Chicken Wraps with Bold Flavor
1. Introduction
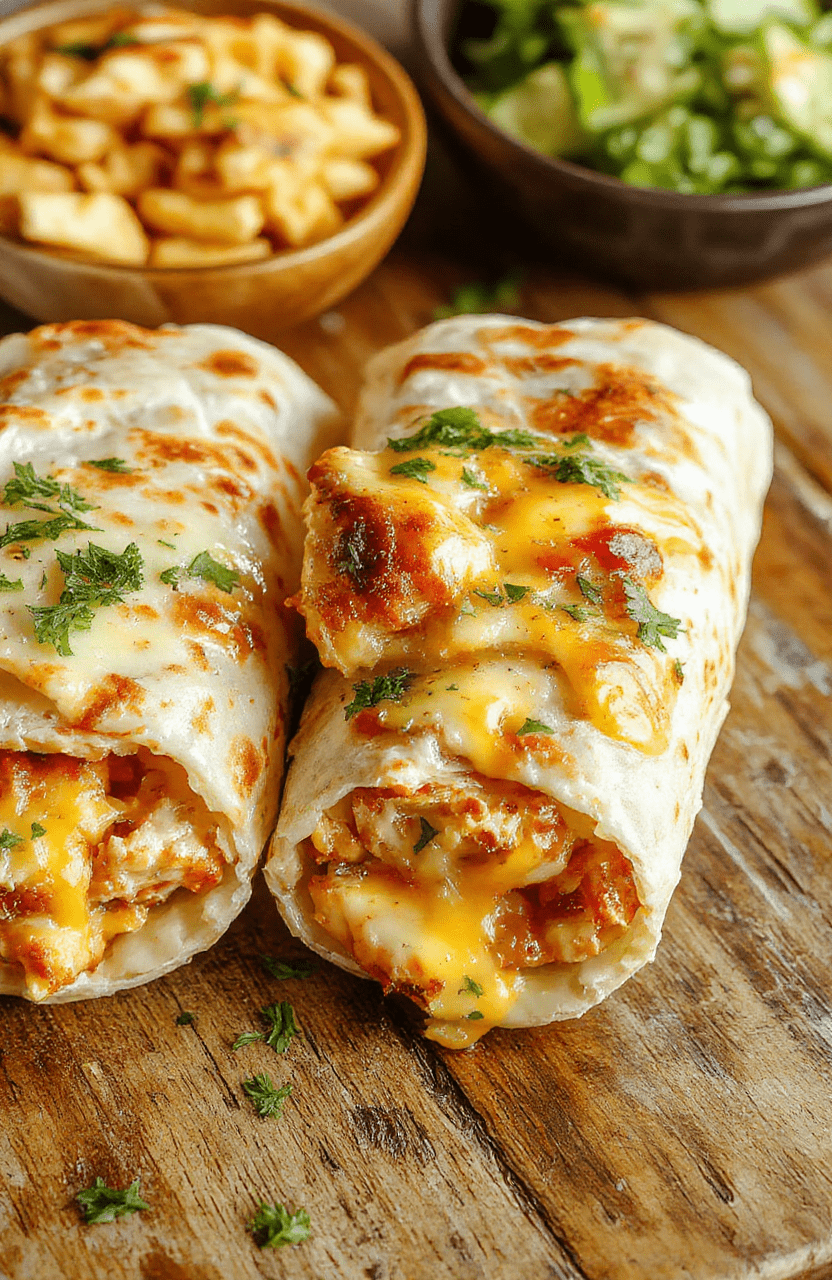
If you’re craving a dish that combines crispy textures, juicy chicken, and gooey melted cheese, then these cheesy chicken wraps are exactly what you need. Perfect as a quick lunch or satisfying dinner, these wraps burst with flavor and comfort. The aroma of seasoned chicken mingling with freshly melted cheese makes every bite irresistible. Whether you’re a seasoned home cook or a beginner, this recipe is simple, versatile, and always a crowd-pleaser.
2. Why You’ll Love This Recipe
- Ready in 30 minutes: Perfect for busy weeknights.
- One-pan or one-bowl: Minimal cleanup with maximum flavor.
- Customizable: Adapt with your favorite cheeses or add veggies.
- Portable and convenient: Great for packed lunches or picnics.
3. Ingredient Notes
To achieve the perfect cheesy chicken wraps, select high-quality ingredients. Use fresh, boneless, skinless chicken breasts for juicy, tender bites. A good melty cheese like mozzarella, cheddar, or Monterey Jack adds creaminess and flavor; opt for block cheeses for better meltability and freshly grated for optimal texture. Spice things up with aromatic herbs like paprika, cumin, or chili powder — these elevate the flavor profile. For a healthier twist, whole wheat or spinach wraps can be tasty alternatives to white flour versions, adding extra nutrients and color.
4. Kitchen Tools You Need
To make your cooking experience seamless, consider investing in these essential tools:
- Compact 6-in-1 Digital Air Fryer: Perfect for quickly crisping your wraps without excess oil. Its multiple functions make it a versatile addition in the kitchen, ensuring crispy edges every time.
- T-fal 14-Piece Hard Anodized Nonstick Cookware Set: Great for efficiently cooking and shredding chicken or preparing fillings without sticking.
- Ninja Foodi Smart XL Indoor Grill & Air Fryer Combo: Ideal for grilling chicken or even toasting wraps for that perfect crunch and smoky flavor.
5. How to Make Cheesy Chicken Wraps with Bold Flavor
Prepare the Chicken:
Start by seasoning your chicken breasts with salt, pepper, paprika, and a touch of cumin for a smoky undertone. Heat a skillet over medium-high heat, then add a drizzle of oil. Cook chicken until golden brown and cooked through—about 6-8 minutes per side. The chicken should be juicy and slightly caramelized on the outside.
Shred and Mix the Filling:
Once cooked, let the chicken rest for a few minutes. Then, shred it using two forks. Mix the shredded chicken with your choice of cheese, chopped herbs like cilantro or parsley, and a squeeze of lime or lemon juice to add freshness. This mix should be flavorful, cheesy, and moist.
Assemble the Wraps:
Lay your wraps flat, spread a generous amount of the cheesy chicken mixture, then fold in the sides and roll tightly. For a crispy finish, lightly brush the outside of each wrap with a little oil or melted butter.
Cook and Serve:
For a crispy exterior, pop your wraps into the air fryer or skillet until golden and crispy—about 3-4 minutes per side. The aroma of melted cheese and seasoned chicken will fill your kitchen. Slice in half to reveal the gooey, flavorful interior, and enjoy hot with your favorite dipping sauce or a fresh side salad.
6. Expert Tips for Success
- Ensure the chicken is seasoned generously—this enhances the flavor of the wraps without adding extra salt later.
- Use freshly grated cheese rather than pre-shredded to achieve the best melt and creaminess.
- If wrapping and cooking in the skillet, use low to medium heat to prevent burning the outside while the inside warms through.
- For extra flavor, include sliced jalapeños or diced bell peppers in the filling.
7. Variations & Substitutions
If you have dietary restrictions or preferences, these ideas might help:
- Gluten-Free: Use gluten-free wraps or lettuce leaves for a low-carb option.
- Vegetarian: Replace chicken with seasoned tofu or hearty, grilled vegetables.
- Lactose-Free: Substitute cheese with dairy-free melting cheeses or nutritional yeast for cheesy flavor.
8. Storage & Reheating
Leftover cheesy chicken wraps can be stored in an airtight container in the refrigerator for up to 2 days. To reheat, place them in the skillet over low heat or use the air fryer for crispy reheating. Avoid microwaving for too long to prevent the cheese from becoming rubbery.
9. FAQ
Can I make these wraps ahead of time?
Yes, prepare and assemble the wraps ahead, then store them wrapped in foil or plastic wrap. Reheat before serving for a fresh, crispy experience.
What cheese works best for melting?
Mozzarella, cheddar, Monterey Jack, or a blend of cheeses melt beautifully and give that gooey, irresistible texture.
Can I freeze these wraps?
While you can freeze cooked wraps, they may lose some crispness. Reheat in the oven or air fryer for best results.
10. Conclusion
These cheesy chicken wraps are a symphony of bold flavors, crispy textures, and cheesy goodness. Perfect for busy weeknights or casual gatherings, they are quick to assemble and customizable to your taste. Enjoy creating this flavorful dinner, and don’t forget to experiment with different cheeses and fillings for your perfect wrap!
Print
Cheesy Chicken Wraps with Bold Flavor
A mouthwatering, cheesy chicken wrap perfect for quick dinners or snacks, featuring tender chicken, melted cheese, and fresh veggies wrapped in a soft tortilla.
- Total Time: 20 minutes
- Yield: 4 wraps
Ingredients
- 2 large flour tortillas
- 1 cup cooked chicken, shredded
- 1 cup shredded cheddar cheese
- 1/2 cup diced bell peppers
- 1/4 cup chopped fresh cilantro
- 2 tablespoons sour cream
- 1 tablespoon mayonnaise
- 1 teaspoon taco seasoning
- Salt and pepper to taste
Instructions
- Mix cooked chicken, cheese, bell peppers, cilantro, sour cream, mayonnaise, taco seasoning, salt, and pepper in a bowl.
- Spread the mixture evenly over the tortillas.
- Roll up tightly to form wraps, securing with toothpicks if necessary.
- Heat a skillet over medium heat and cook the wraps for 2-3 minutes on each side until golden and crispy.
- Slice in half and serve warm with optional dipping sauces.
Notes
- Use rotisserie chicken for quick prep.
- Customize with your favorite veggies or hot sauce for extra flavor.
- Prep Time: 10 minutes
- Cook Time: 10 minutes
- Method: Stovetop
- Cuisine: American
- Diet: Low Carb Option
Nutrition
- Serving Size: 1 wrap
- Calories: 450 kcal Kcal
- Sugar: 4 g
- Sodium: 650 mg
- Fat: 22 g
- Saturated Fat: 9 g
- Unsaturated Fat: 10 g
- Trans Fat: 0 g
- Carbohydrates: 38 g
- Fiber: 3 g
- Protein: 30 g
- Cholesterol: 100 mg